Today you will be using icing to fill the cake and also to crumb coat the cake. If you have never done a crumb coat, it is a thin layer of icing put on the cake and allowed to set so that any stray crumbs will stick to that layer of icing and not get into you final and perfect icing layer. Since this is a tutorial using buttercream icing, it is important to use a buttercream that will crust. That means that after about 15 minutes of sitting after it is applied to the cake it will not be sticky anymore. It will become a little dry on the very top so that you can smooth it and make it look very close to a fondant finish. I really like this tutorial by Glorious Treats. Her method is simple and easy to follow so I will give you the link here: American Butter Cream.
The only change I make is to substitute High Ratio Shortening for at least 1/2 of the butter. Butter is delicious and wonderful for most cakes but it doesn't hold up well when you are stacking cakes and want a firm frosting. High Ratio Shortening can be found at most Bakery Supply stores. It really is a must to make really creamy icing with good mouth feel. Crisco isn't the same as High Ratio either. You can get it from Amazon in a pinch here High Ratio Shortening. But it is much more expensive than if you get it locally.
Using this shortening also helps you keep you icing whiter than with butter. I still use 1/4 to 1/2 of the recipe with butter because the flavor is so much better. I still need to experiment more with colorless butter flavor to see if it will improve the flavor of using all shortening for a really white icing. When I used butter in my icing I also used Wilton's "white white" coloring to improve the whiteness of the icing. Find it in a craft store or here Wilton's White White.
Make your icing now following the instructions with the least amount of milk. You will want the icing stiff to make a dam for the filling and then you can add more milk to make the icing thin to do your crumb coat. The amount of icing you need for this step will of course vary depending on the size of your layers. I found that 2 recipes of icing made a dam for the 10" and 12" centers and also made a thinned layer for the crumb coat for both filled layers with 1/2 left over. Be sure to cover the icing bowl with a damp towel while you prepare your cake. The icing will stay nice and creamy with the moist air from the towel and will not dry out and become crusty.
After cakes have set in the fridge overnight they will be cold, firm, and easier to work with. Take cake layers out of the fridge. Prepare one cardboard cake round to go under each layer. It should be a couple of inches larger than the cake layer at this point. We will cut it later to exactly fit the cake. To do this, add a layer of wax paper to the round either using double stick tape or a thin layer of hot glue to the cardboard. Stick the wax paper to the board and then cut it to the exact size of the cardboard. To see how this is done look here. This helps keep the board from absorbing moisture from the cake and icing.
Remove the plastic wrap layers, (I save mine to wrap them with after the crumb coat) and set the cake layer on the cake circle. To make sure the cake stays in place, first put some icing on the cake round and then set the cake on that. Now place the cake layer on your turntable (also use some icing underneath the cardboard to hold it on if it doesn't feel secure). Mine has a rubber surface that holds pretty well or you can also add some rubber nonstick rug mesh to hold it in place.
If your cake top is rounded, you will need to level it by cutting the rounded part off. Hopefully if you have followed the steps in Day 1 your cake will be quite flat on top.
If you plan to use a filling in your cake, you need to cut the layers in half horizontally. This may seem a little scary at first but if you use this method and have a serrated knife with a long blade on it, it is pretty easy. First, take some toothpicks and mark halfway up the side of the cake at intervals around the cake like this:
I pretty much eyeball this and when they are all in place I change any that look out of place.
Then I use my long bladed knife to begin cutting.
As you put pressure on the knife to cut, turn the table and slowly inch towards the center. Turning the table as you go will let you keep the knife level and even. When you reach the center, you can feel the cake top release and you're done!
Now you can use a metal lifter like this one or even another cake circle to lift the top off and move it to the side to allow you to fill the cake.
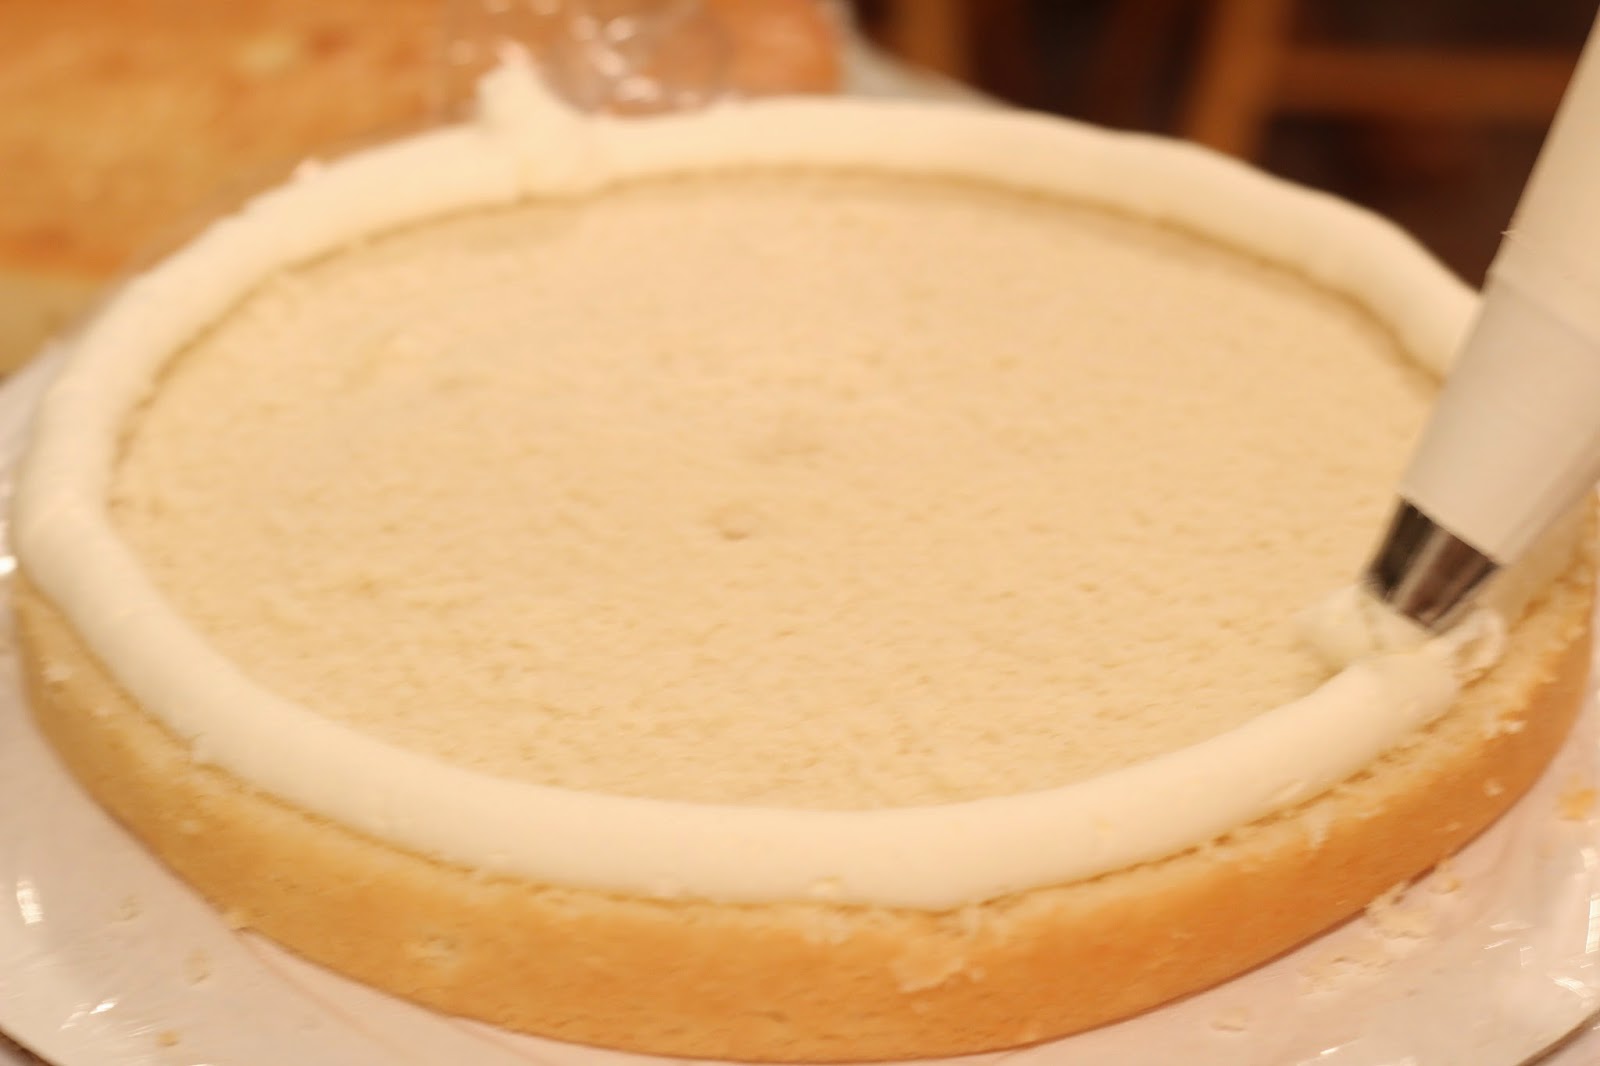
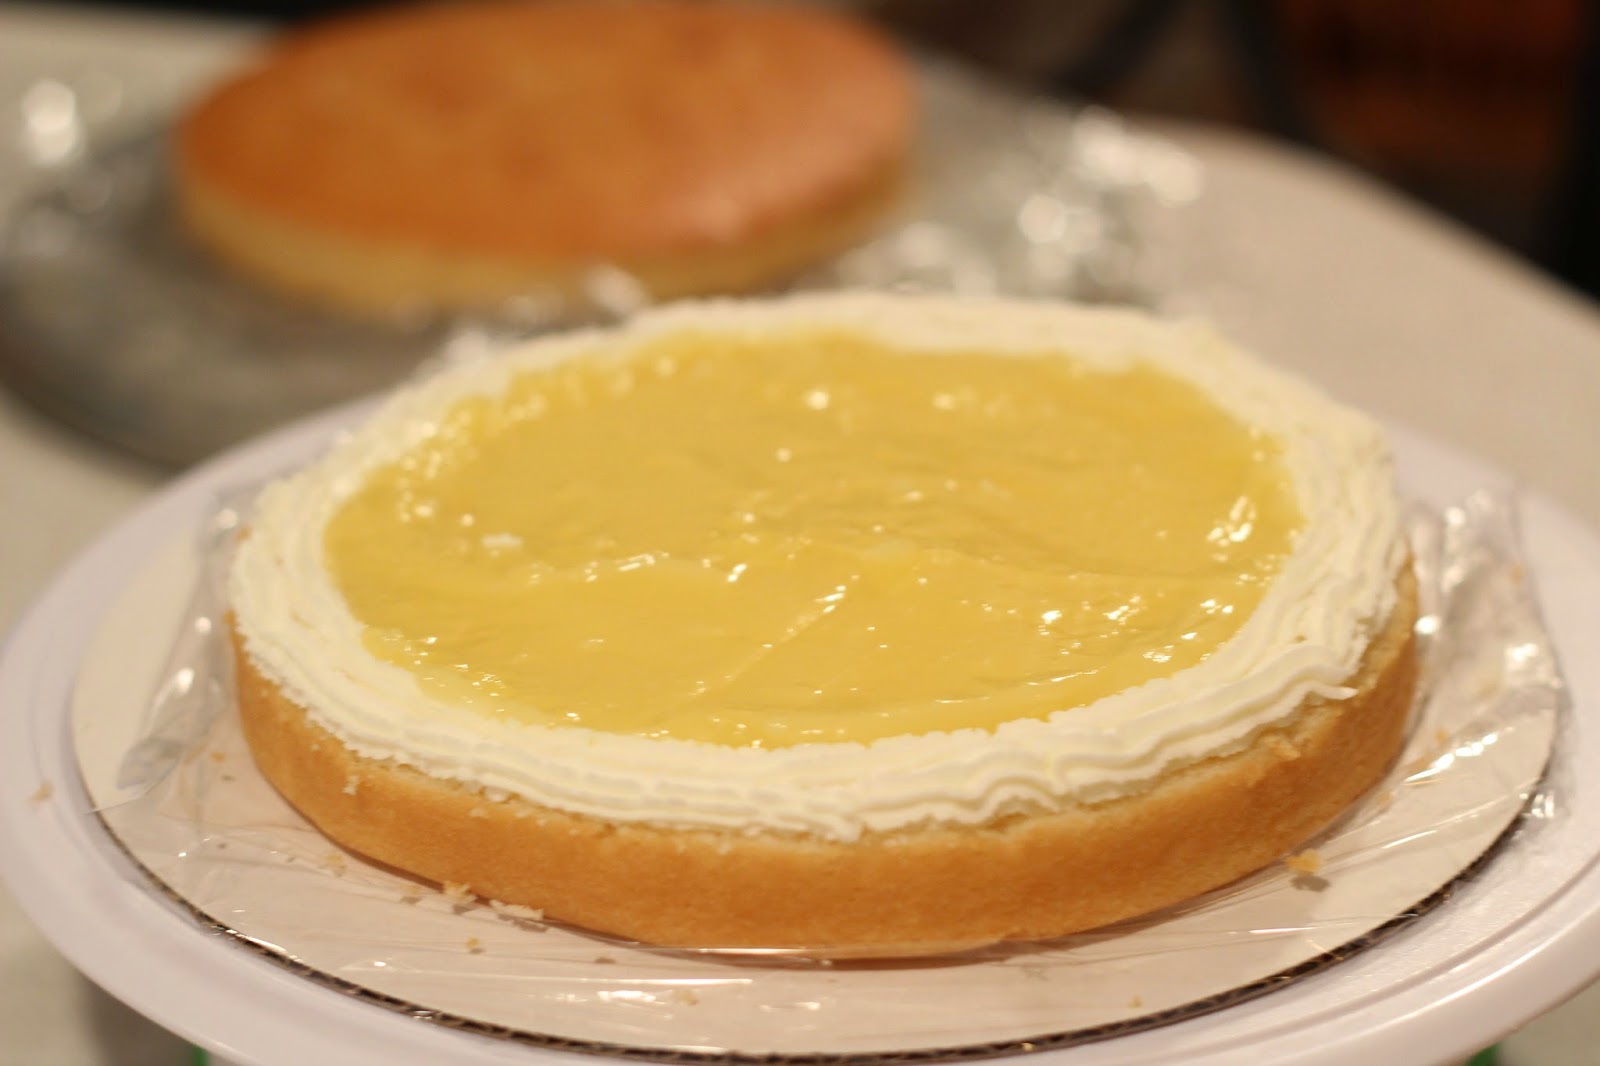
Now you are ready to fill your cake. With medium stiff icing in a piping bag and a large tip (I used a #21 (starish looking one) for the lemon filling but changed to a #303 round for the last layer and liked it better. Pipe a 5/8 dam around the edge of the layer. If the icing breaks go ahead and push the icing together until it seals together to form a complete circle.
On this second layer, I came in about 1/4 inch to give the icing room to spread a little when the top is put on.
Now fill the center with cake filling. I made the lemon with the recipe on the Wilton site which is quite easy to make and delicious. The raspberry filling I used on the other layer was some I purchased from my local bakery store called Baker's Cash and Carry. It was nice not to have to worry about making the filling when timing is important.

Now replace the top layer.
Take your remaining icing and add milk or cream to make it a thin consistency. With an offset spatula, ice your cake with a thin layer all around the sides and then on the top. Let this coat sit for about 15 minutes to crust and then wrap it again in the plastic wrap the same as before and place it in the fridge overnight. See you tomorrow for Day #3!


Hi! Popping over from SITS Sharefest! Always love to see some great wedding content :)
ReplyDeleteThanks for your visit!
Delete