Day 2: Cut & Fill, Crumb Coat
Today you will be using icing to fill the cake and also to crumb coat the cake. If you have never done a crumb coat, it is a thin layer of icing put on the cake and allowed to set so that any stray crumbs will stick to that layer of icing and not get into you final and perfect icing layer. Since this is a tutorial using buttercream icing, it is important to use a buttercream that will crust. That means that after about 15 minutes of sitting after it is applied to the cake it will not be sticky anymore. It will become a little dry on the very top so that you can smooth it and make it look very close to a fondant finish. I really like this tutorial by Glorious Treats. Her method is simple and easy to follow so I will give you the link here: American Butter Cream.
The only change I make is to substitute High Ratio Shortening for at least 1/2 of the butter. Butter is delicious and wonderful for most cakes but it doesn't hold up well when you are stacking cakes and want a firm frosting. High Ratio Shortening can be found at most Bakery Supply stores. It really is a must to make really creamy icing with good mouth feel. Crisco isn't the same as High Ratio either. You can get it from Amazon in a pinch here High Ratio Shortening. But it is much more expensive than if you get it locally.
Using this shortening also helps you keep you icing whiter than with butter. I still use 1/4 to 1/2 of the recipe with butter because the flavor is so much better. I still need to experiment more with colorless butter flavor to see if it will improve the flavor of using all shortening for a really white icing. When I used butter in my icing I also used Wilton's "white white" coloring to improve the whiteness of the icing. Find it in a craft store or here Wilton's White White.
Make your icing now following the instructions with the least amount of milk. You will want the icing stiff to make a dam for the filling and then you can add more milk to make the icing thin to do your crumb coat. The amount of icing you need for this step will of course vary depending on the size of your layers. I found that 2 recipes of icing made a dam for the 10" and 12" centers and also made a thinned layer for the crumb coat for both filled layers with 1/2 left over. Be sure to cover the icing bowl with a damp towel while you prepare your cake. The icing will stay nice and creamy with the moist air from the towel and will not dry out and become crusty.
After cakes have set in the fridge overnight they will be cold, firm, and easier to work with. Take cake layers out of the fridge. Prepare one cardboard cake round to go under each layer. It should be a couple of inches larger than the cake layer at this point. We will cut it later to exactly fit the cake. To do this, add a layer of wax paper to the round either using double stick tape or a thin layer of hot glue to the cardboard. Stick the wax paper to the board and then cut it to the exact size of the cardboard. To see how this is done look here. This helps keep the board from absorbing moisture from the cake and icing.
Remove the plastic wrap layers, (I save mine to wrap them with after the crumb coat) and set the cake layer on the cake circle. To make sure the cake stays in place, first put some icing on the cake round and then set the cake on that. Now place the cake layer on your turntable (also use some icing underneath the cardboard to hold it on if it doesn't feel secure). Mine has a rubber surface that holds pretty well or you can also add some rubber nonstick rug mesh to hold it in place.
If your cake top is rounded, you will need to level it by cutting the rounded part off. Hopefully if you have followed the steps in Day 1 your cake will be quite flat on top.
If you plan to use a filling in your cake, you need to cut the layers in half horizontally. This may seem a little scary at first but if you use this method and have a serrated knife with a long blade on it, it is pretty easy. First, take some toothpicks and mark halfway up the side of the cake at intervals around the cake like this:
I pretty much eyeball this and when they are all in place I change any that look out of place.
Then I use my long bladed knife to begin cutting.
As you put pressure on the knife to cut, turn the table and slowly inch towards the center. Turning the table as you go will let you keep the knife level and even. When you reach the center, you can feel the cake top release and you're done!
Now you can use a metal lifter like this one or even another cake circle to lift the top off and move it to the side to allow you to fill the cake.
Now you are ready to fill your cake. With medium stiff icing in a piping bag and a large tip (I used a #21 (starish looking one) for the lemon filling but changed to a #303 round for the last layer and liked it better. Pipe a 5/8 dam around the edge of the layer. If the icing breaks go ahead and push the icing together until it seals together to form a complete circle.
On this second layer, I came in about 1/4 inch to give the icing room to spread a little when the top is put on.
Now fill the center with cake filling. I made the lemon with the recipe on the Wilton site which is quite easy to make and delicious. The raspberry filling I used on the other layer was some I purchased from my local bakery store called Baker's Cash and Carry. It was nice not to have to worry about making the filling when timing is important.
 Now replace the top layer.
Take your remaining icing and add milk or cream to make it a thin consistency. With an offset spatula, ice your cake with a thin layer all around the sides and then on the top. Let this coat sit for about 15 minutes to crust and then wrap it again in the plastic wrap the same as before and place it in the fridge overnight. See you tomorrow for Day #3!
So you think you want to make a wedding cake? Ever since I started decorating cakes way back in high school, I think I dreamed of making a honest to goodness wedding cake. They are so beautiful and the pictures in the decorating books make it look so easy. A couple of years ago I finally got my chance when a neighbor was getting married and knew of my inexperience but trusted me anyway to make theirs. They wanted it to be quite simple and were not high pressure so I decided to accept!
The next 6 weeks leading up to the important occasion were filled with studying and practicing and sometimes tears. I always thought Wedding Cakes were grossly over priced but after what I went through to make even a simple one I fully understood why they cost so much and mine wasn't even a cake with fondant or gorgeous piping on it. (I do want to learn more about that!)
But when it was finished and looked so pretty sitting at the reception I was so relieved and proud and happy that it was all worth it! That is why I want to share the things I learned with you. Maybe it will help you to get from point A (how do I?) to point B (finished cake) faster and easier than it was for me.
I realize that I am a detail person. I like to spell out every move to make. So just take what you want from the lists and I wish you much success!
First, you need to check to make sure you have the right equipment. Good quality pans, spatulas, and a decent turn table
are important. You don't have to spend a fortune though. I bought my Wilton pan set found here: pan set at Micheal's
Craft with a 50% off coupon very reasonably. It was pretty much the same with all my other supplies. An offset spatula and a Wilton turntable like this:Wilton Turntable was all I needed. there are much more expensive ones out there but this worked for me. The other supplies you will want to have on hand are: offset spatula, Cardboard Cake Circles in all the sizes you need, wax paper and hot glue or double stick tape, piping bags and tips, fondant smoother (this is not a fondant cake but the smoother comes in handy, viva paper towels, cake board or heavy duty plate or stand.
Let's get started!
First you need a great recipe to make the cake. You want one that is Wedding Worthy. There are many gourmet recipes out there but unless you have a tried and true recipe or a lot of time on your hands to test new recipes, you may want to use the recipe that many professionals use. This one is easy, reliable, and delicious. It is called The White Almond Sour Cream Cake or the WASC cake for short. Yes, it does contain a cake mix but in my opinion the added ingredients make it just the rich and denser texture you want in a wedding cake.
As a side note, A few years ago all the cake mix companies decided to change their mixes at the same time. they decreased the box size from 18.25 to 16.25 and changed the formula also. It threw many cake makers into a frenzy wondering how this new cake mix formula would work in the WASC cake recipe. I was in the midst of making my 1st wedding cake and had to drop everything to figure out what was going to work. I began testing different brands and found that some fell and some were dry. The brand that still did the best job for me was Duncan Hines Classic White. It worked like a charm and so I always stick with that now. (This works for my altitude and oven so you may want to test it out first for your situation).
Making a wedding cake is best done on 3 different days. You can spread it out more but less would be quite stressful and may not leave enough time to fix problems or allow the cake to cool properly.
Here is Day 1 of my schedule:
Make cakes. This is the WASC recipe link and below are some of my tips on how to help it come our perfectly.
Here is the link (different name same recipe):
White Almond Wedding Cake
1- Prepare pans for batter by using this Pan Release recipe. It works so beautifully. Just make sure to completely cover the pan and don't leave any bare spots.
2. Fill pans 1/2 full. This helps you get an even flat topped cake. I measure the side of the pan (i.e. 2 inches), then mark a toothpick at the 1/2 way mark (i.e. 1 inch). then I pour the batter in until it looks 1/2 full. Then test it with the toothpick. If the mark on the toothpick goes into the batter, take some out. Add some if you need more to reach the mark.
3. After the batter is in the pan, tap them several times on the counter to release the air bubbles trapped in the batter. They will begin rising to the top.
4. Use bake even strips. You can find them at most craft stores or online here.
They come in different sizes so make sure you have enough to cover your largest pan. Follow the directions they give you to soak them and remove a little water before placing them on the pan.
5. For large size pans you need to use something in the center of the batter to help it cook. If you don't the outside will be over done and the inside of your cake pan will be undercooked and fall. You can buy something called a heating core found here.
You can also use a #7 cake decorators rose nail. Insert it into the batter centered in the pan with the large end resting on the bottom of the pan. In cakes larger than 12 inches I would use 3 of these nails in a triangle formation close to the center.
When these are placed in the center, the cake bakes evenly and then they can be removed when the cake is taken out of the pan soon after baking is finished.
6. Take bake even strips off immediately after baking to allow pan to cool.
7. When cake has cooled for only 15 minutes, place a sheet of plastic wrap over the top of the pan that is about 3x's more than the pan size in width.
Place a rack or plate over the wrap and invert the cake onto the plate/wrap. This is where you will be glad you used the pan release. The cake will slip out of the pan without any sticking. Wrap the cake completely in plastic and then repeat the process with more plastic wrap. The second time I use a cardboard cake round a little bigger than the cake to support it and then place the wrapped cake into a large bag (a store bag or a purchased turkey baking bag works well) and place in fridge or freezer to "mature" over night. Many bakers swear by the freezing method saying that it improves the flavor and moistness of the cake. I personally have not tried it and I only have mine in the fridge overnight. If you freeze your cake be sure to allow time for it to defrost before icing it.
This ends the first days work. It feels good to see all of the cakes lined up, perfectly formed, wrapped, and in the fridge. You're on your way!
Next post will be day 2!
Please send me your questions below...
This post was shared with these fine blogs!
Create with Joy
Pint Sized Baker
Lou Lou Girls
Memories by the Mile
Nap time Creations
A Dish of Daily Life
The Country Cook
So you have seen these cakes all over on pinterest right? Have you been just a little afraid to try? That's how I felt. I wasn't sure how they did it. Wasn't sure mine would turn out. But I needed an idea for my mom's 83rd birthday cake and I needed one fast. I mean fast and fast to make. I was helping make other food items for our family 4th of July dinner and so it couldn't take a long time and intense work. I guess I have a devil may care attitude or something so I decided to try it. After all I do have about 79 cake mixes in my food storage so if it failed I could just whip one out and make a good ole 13 x 9 pan cake and ice it with store frosting (also in food storage, I am a food storageaholic!) couldn't I? It was soooo fun! And it came together fast and easy. You do have to make sure you have the icing tip and a few bags for the different colors and 8" or 9" round pans. Here's how it went:
I found instructions to make this one on this site: Country Cleaver . I really like her pictures and explanations so you can look there for more info. There are a few changes that I made to her process. First, I started out with making a double WASC cake recipe. This starts with a box mix and adds ingredients to make it moist and delicious. If you don't have it let me know but any cake will work.
I found my mom's 8" cake pans that I (honest mom) didn't remember I had them in the bottom of my oven storage drawer. (She's been looking for them for years...). Divide the batter into 4 parts in separate bowls. I used Americolor 132 Soft Pink to make the shades of pink in the icing and cake batter. Americolor is very strong so use it very sparingly. My first try to make the lightest color actually turned into my darkest pink with very little color added. The color also intensifies after sitting for an hour or so.
I used my pan release on the pans- found here,
(it is great stuff!) then I poured batter in the pans until it was about 1/2 way full. Use Bake Strips found here (you can get them at Micheal's or Jo Ann's too) to help them bake with a less rounded top.
Check cakes with a toothpick to check to see if they are done. The WASC recipe takes a little longer than regular mixes because it is more moist and dense.
Cool cakes about 10 minutes and then take out to cool completely on a wire rack. Meanwhile, make your icing. I liked the white chocolate icing Country Cleaver used but didn't have the ingredients on hand so I just tripled my recipe for American Buttercream. I have more experience with it too so I knew it would work well. Next time I would 4x it because I had to really scrape the bowl to have enough to finish my last rose on top! Divide and color! Try to match the cake levels of color.
American Buttercream Icing
1 cup butter (salted) ( I used 1/2 cup butter and 1/2 cup vegetable shortening to help stabilize it.
It also keeps the icing white so when you add food
coloring it will be the true color you want.)
4 cups powdered sugar
1/2 teaspoon clear vanilla extract
1/2 teaspoon clear almond extract
2 Tablespoons milk
Cream butter in bowl for 1 to 2 minutes. Add 1/2 of the powdered sugar slowly and beating thoroughly after each addition.
Add flavorings and half of the milk. Add the remaining powdered sugar and beat until creamy. Add the rest of the milk as needed for the consistency you want.
This is a crusting buttercream so keep it covered with a wet cloth until you use it.
To assemble and ice:
Once cake layers are cool, take a long knife and level the tops to make a flat surface on 3 of them. Place darkest layer on serving plate. Ice top with plain colored buttercream. Place the next darkest layer cut top side down on the icing and ice the top of it. Place the next and lightest pink layer on top, cut side down (this reduces the amount of crumbs you will have to deal with). Ice it and place the last (non colored) layer on top with the dome facing up. Ice the entire cake with a thin layer of white icing.
I didn't use an icing tip for this because honestly it was faster and easier to just use a offset spatula to apply and quickly smooth the icing around the cake. This icing layer only needs to be quite thin as a background for the icing to come. The rose circles will add plenty of icing for the cake.
If you are lucky enough to have 4 1M icing tips and 4 size 14 bags or larger you can now fill each with a different color of icing and you are ready to go. I am not that lucky so I had to do mine one at a time.
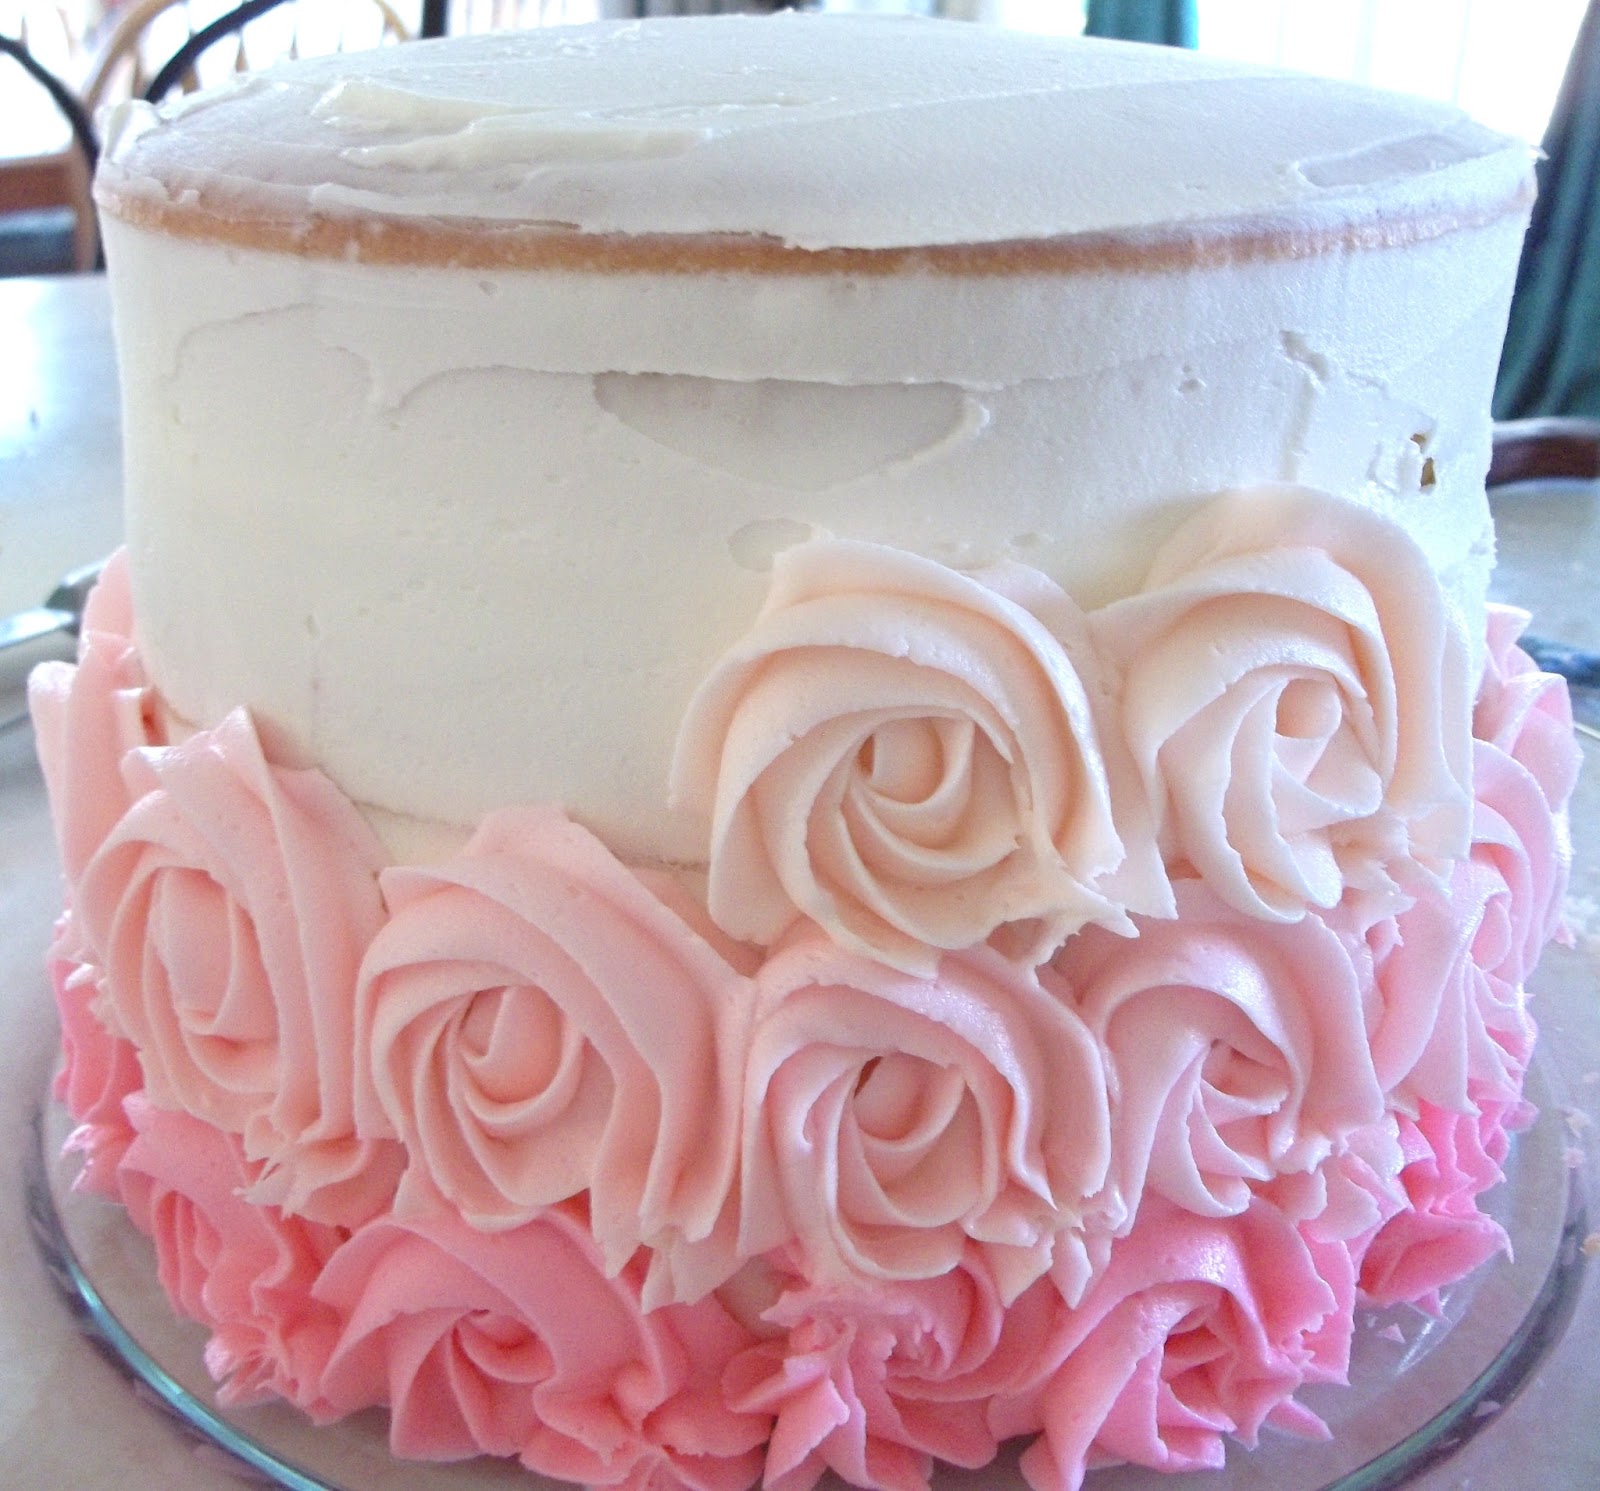
Start with the darkest pink and (this is the fun part!!) make a rose at the bottom of the cake. All you do is hold the bag at a 90 degree angle (straight out) from the cake. It is like making the letter O from the bottom and up and around it. Start your O in the center, while pressing icing out, continue to the bottom of the O up the left side and around to the right side and then the bottom where you stop pressing.

Moving to your left around the O automatically makes it look like a rose. See? Easy peasy! And you will look at it and be amazed that it looks so pretty! Remember to make the 1st rose and each one after it as tall as the 1st layer of cake. Using the layer as a guide helps it to come out even. Also, as you start the subsequent rows of roses keep each one right above the one under it so the vertical rows will be even and pretty to look at too. This part goes very fast. The top is just more of the same but start on the outside circle of the top and work in to the last rose in the middle with the lightest color. There you did it! Congratulations!
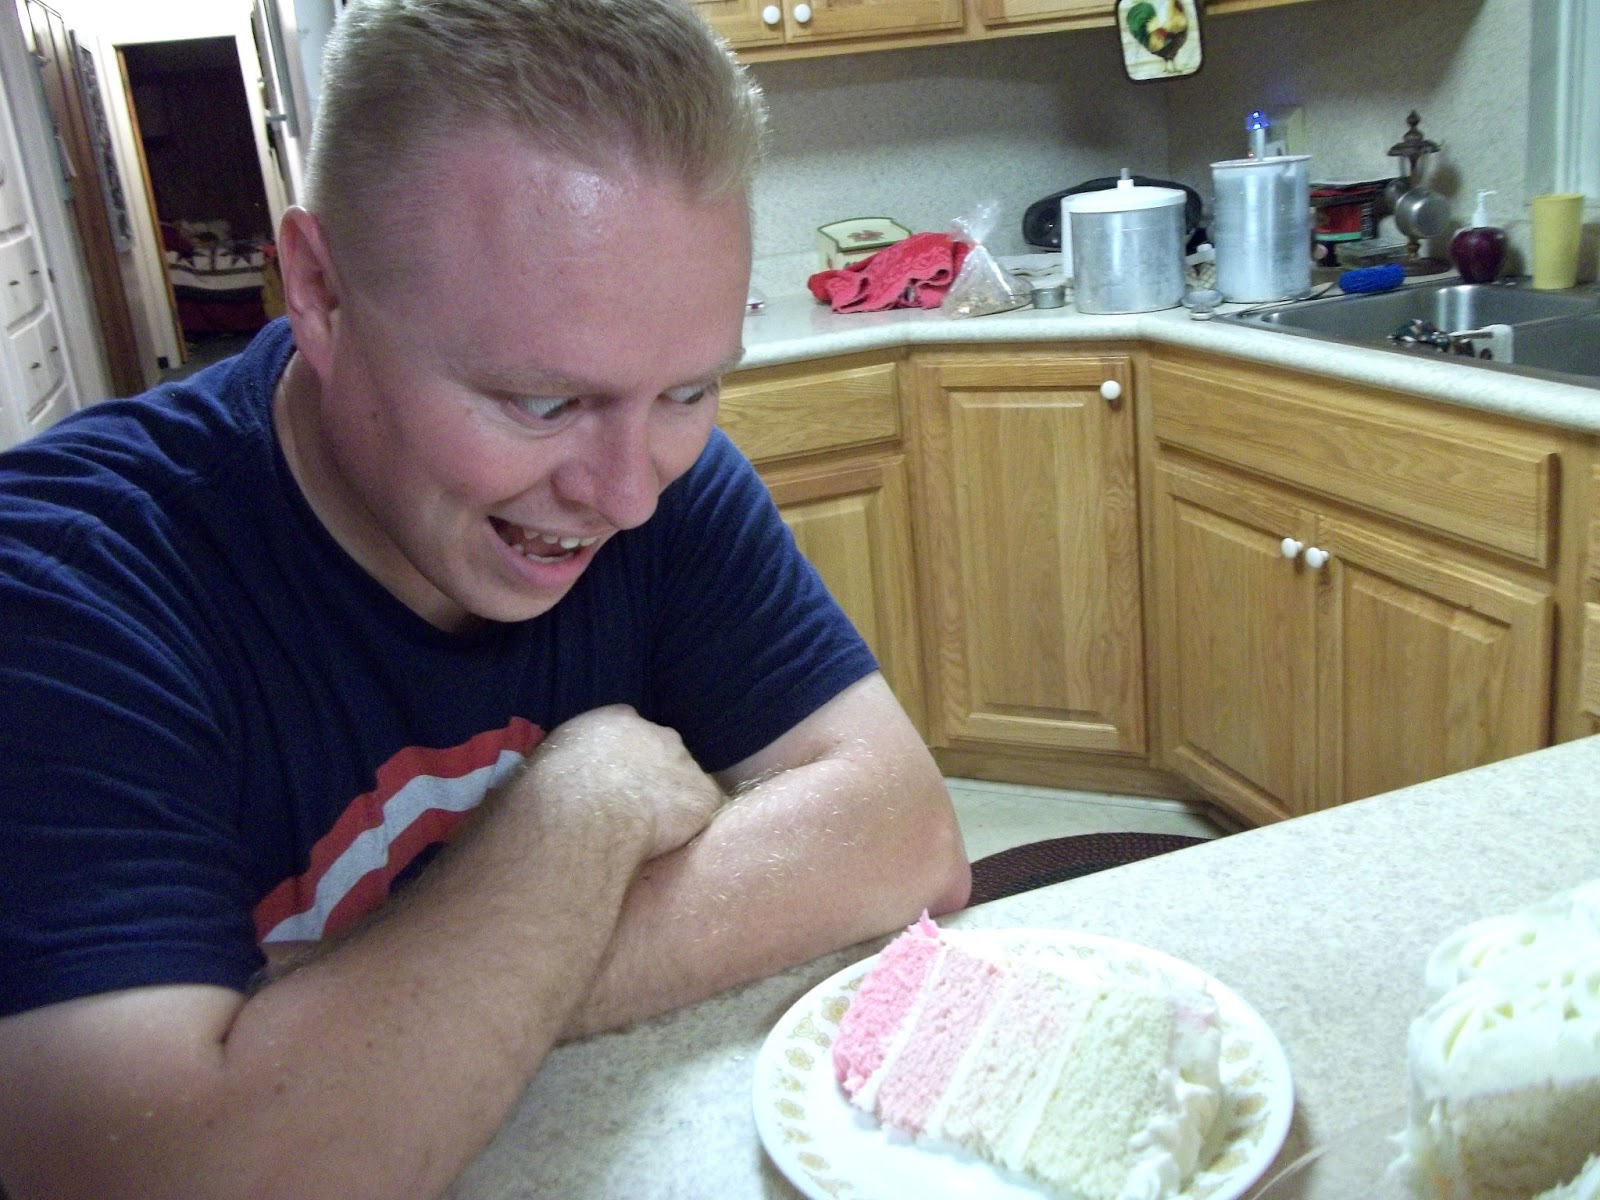
In case you are wondering about this picture, it is my silly nephew, Blake. You might not believe that he is actually a well respected teacher and community member! He just has this SILLY side that has to come out! Also, he was very excited about this cake!
Have FUN!
Here is my cute mom! I think she liked it!
This recipe has been shared on the following wonderful sites!
Mandy's Recipe Box
The recipe critic
anyonitasnibbles
Chef in Training
kitchen fun with my 3 sons
The Country Cook
Chocolate Chocolate and More
What's on the List
I have to apologize for leaving you for so long! I know it was not great but...I do have an explanation. I was asked to make a wedding cake about a month ago and need I say more?
I am far from being an accomplished wedding cake maker but it has been a dream of mine for, well, about my whole life. I bought pans, looked at sensational pictures and dreamed of the day when I would be good enough to make one like "that". Well, the day came and I still wasn't prepared. But I looked at the pictures of some simple cakes and thought "How hard could it be?" I was about to find out....
I wasn't concerned about finding a wonderful cake recipe because I have one that I have used many times on large one layer cakes. It turns out beauuutifully. Then I was told that due some manufacturer changes in ingredients that my recipe was failing. And I was told that by some pretty wonderful accomplished wedding cake makers. Oh dear! So I spent a few sleepless nights wondering what to do. And with some help from my niece, Hil and her sister who makes cakes a lot it all worked out.
There is a lot of good advice out there on the web and I believe I probably read about 13 million hours (I never exaggerate!) of it just to be sure that I was ready for any possibility. You just can't take chances on someone's wonderful, most special day in the world can you? It was a fun, nerve wracking, tiring, exciting and beautiful time all in one. In the end I was just super relieved and proud that it all came together (and also that I didn't drop it or trip with it.) Here are some of the highlights in pictures of the process.
If you are interested in learning from my experiences about all the steps and neat tricks I learned, please comment below and I will do a complete tutorial on making a Wedding Cake.
Here are some of pictures of the finished product!
Thanks for your patience. I will be blogging again very soon!


